 |
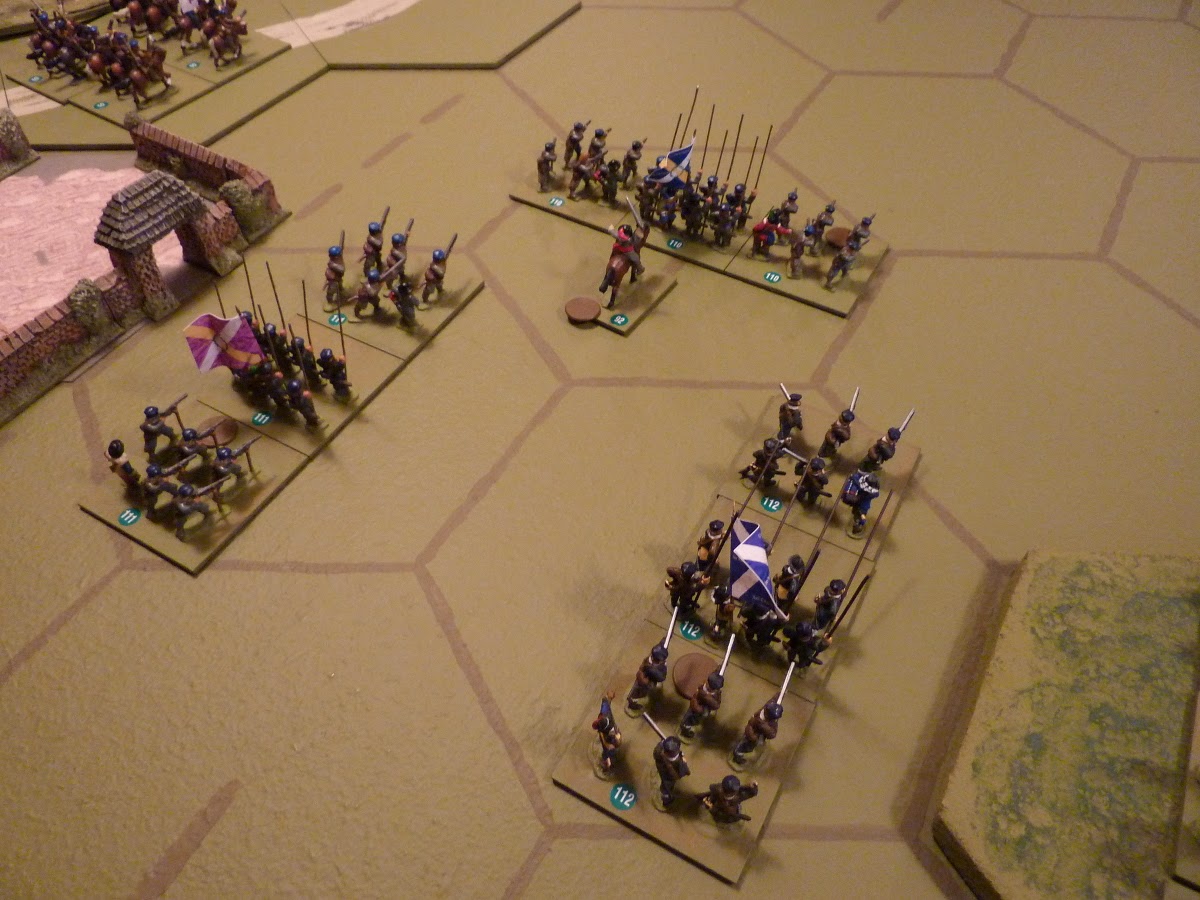
| Sir Rowland Barkhill's Parliamentarian horse, attached to the Covenanter army, take station on the right flank, at Mallinson's Farm |
During Week 5 of the campaign, the
Parliamentarian commander, Sir Henry Figge-Newton, ordered the Scottish troops
under General Geddes to advance northwards from Pacefield, drive between the
two Royalist forces (who were at Erneford and Lowther) and capture the ferry
crossing over the River Arith at Cark, moving his men over to the north side of
the river. Geddes, who had very few cavalry, was reinforced by the addition of
most of a brigade of horse under the command of Sir Rowland Barkhill, whose
troopers had been only lightly engaged at Midlawton.
 |
| Because of a quirk of the campaign system, this map has the southern edge at the top, so the Scottish troops crossed the river and advanced down the page |
Geddes carried this out quickly and
efficiently, but found that there was no-one at the ferry and that the boats
had been removed. His engineers built a temporary bridge and the soldiers
crossed, but there was some confusion over what to do next. Geddes decided to
advance to the east, but a Northumbrian Royalist force under Sir John Darracott
was approaching behind him, having been warned that the Parliament men had
crossed the river. Geddes’ scouts soon spotted the Royalists behind them, and the
Scots turned about to meet them in the vicinity of Cark Hall – what was
originally intended to be a movement to isolate the fortress of Erneford had
turned into an encounter-type battle, within a mile or so of the ferry itself.
Darracott had brought along a medium cannon
(a saker) from the fortress, but realised that he was outnumbered, and he arranged
a defensive line, with his cavalry on his left. Geddes attacked all along his
line, though it took a while to get his troops organised properly – he had the
brigade of Colonel St Clair on his right, attacking a rocky hill, and the Earl
of Dunbar attacking a more open position on his left, with Colonel Herdman’s
brigade supporting that of the Earl.
The Royalist left held their position
stoutly, and St Clair’s attack was repulsed, but things went less well on their right. Colonel Brogan was wounded fairly early in the action, and the resultant
difficulty in co-ordinating the operations of his brigade was not helped by Sir
John Darracott being cut off from the main action – he was forced to take
personal evasive action to escape The Parliamentary cavalry, and he took little
further part in the battle. Brogan’s
brigade were rolled up from their right, and, after a brief, stubborn defence
of the rocky hill, Colonel Frayne (surprised to find himself now in effective
command) ordered a withdrawal back to Erneford. The Royalists were harried by
Barkhill’s horse during the retreat, and lost a good number of prisoners.
 |
| Col Edward Frayne (b.1608), of Beescombe Park, near Ashington - commander by default |
Royalist Force – General Sir John Darracott - 4700 foot, 800 horse, 1 gun
Brigade of Col Edward Frayne
Regts of Foot of De la Roche, Wooding &
Frayne
Brigade of Col Philip Brogan
Regts of Foot of Charlton, Fintry, Corfield
& Brogan
Brigade of Col Henry Moorhouse
Regts of Horse of Moorhouse & Noden
1 medium artillery piece
Estimated losses approx 2000 foot, 600
horse; the solitary cannon was lost and Colonel Brogan was wounded, though he should
recover fairly quickly.
 |
| General Geddes waves his hat in victory - mind you, he would wave it in defeat too. Hat waving is what he does best. |
Parliament Force – General Wm Geddes – 6000
foot, 1200 horse
Brigade of Col John St Clair
Regts of Foot of St Clair, Laird &
Petrie
Brigade of Col Wm Herdman
Regts of Foot of Herdman, Yester &
Sweeting
Brigade of the Earl of Dunbar
Regts of Foot of Snodgrass, McKinnon &
Dunbar
Brigade of Sir Rowland Barkhill
Regts of Horse of South, Dundonald &
Pitlochrie
Losses approx 1400 foot, 100 horse.
[Once again, the losses of both sides are inflated by a large proportion of missing troops, some of whom are expected to return to the colours.]
Detailed army returns for Week 5 will appear in a week or so.
 |
| General view at commencement, from behind the Royalist left |
 |
| Sir Henry Moorhouse, with the Royalist horse, who had a difficult day |
 |
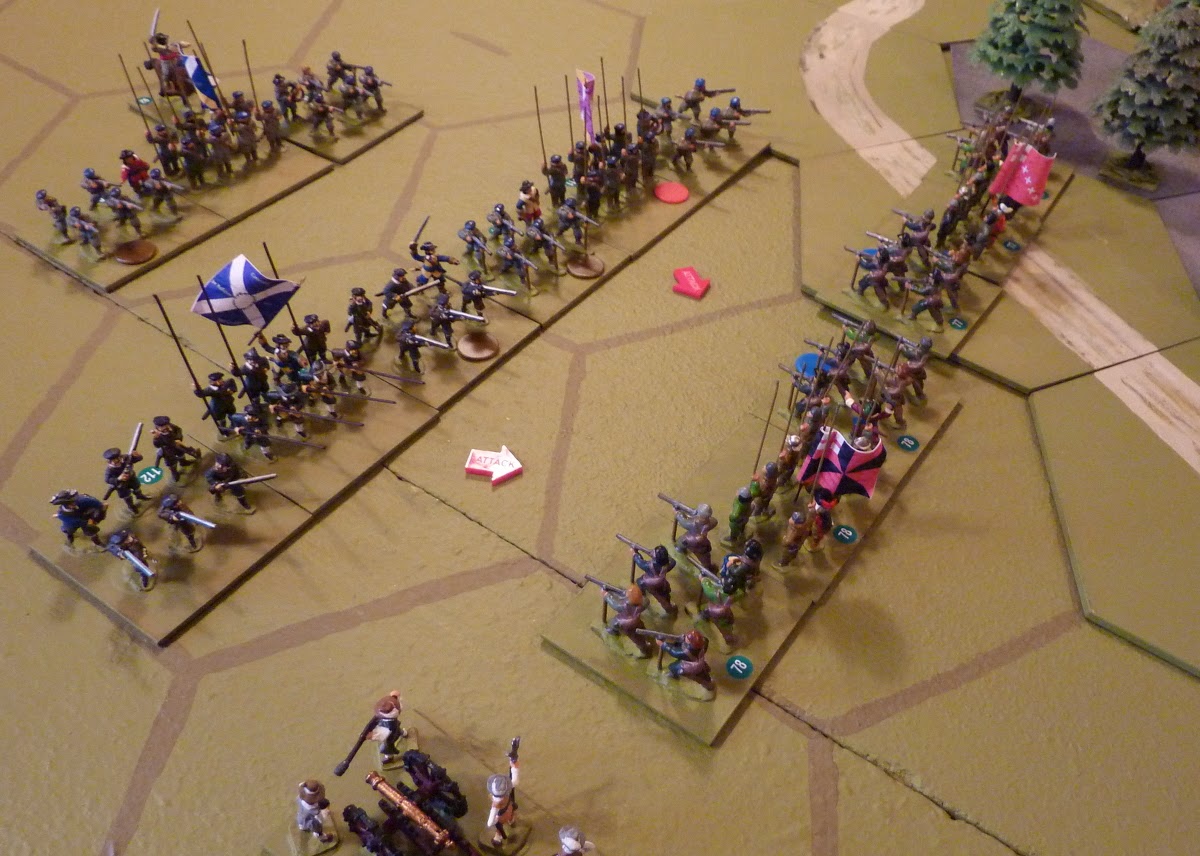
| Geddes' Covenanters set off on their general advance, the horse nearest the camera, then the brigades of St Clair, Herdman and the Earl of Dunbar |
 |
| The Earl of Dunbar's brigade advance - not an elegant touch of ordre mixte, surely? |
 |
| Col Frayne gets the Royalist left organised on the hill... |
 |
| ...and here you can see the attack coming, though it took a while to get into shape |
 |
| Flat-pack engineering - the Scots' admirable temporary bridge; Pitlochrie Horse and Cark Hall in the background |
 |
| From behind the Parliamentary attack - Herdman (orange counters) is the reserve |
 |
| Borrowed from the fortress at Erneford - a saker - complete waste of time - never hit anything all afternoon, and was left behind in the retreat |
 |
| Naturally there was a cavalry melée - Royalists nearer the camera |
 |
| Brogan advances rather untidily to meet the Earl of Dunbar's men |
 |
| Meanwhile, the Parliamentary horse roll some very useful dice |
 |
| Frayne's brigade did an excellent job defending the hill on the Royalist left |
 |
| While Brogan's men (without their wounded commander) did less well at the other end |
 |
| This is just about the end of the day - Frayne withdrew what he could, but the loss of the artillery battery provided the deciding Victory Point, and it was time to go |
 |
| Frayne was left alone, defending his hill, surrounded by the enemy |
 |
| Same view, different angle |
A brisk little action, attractive and entertaining for onlookers and fence sitters alike. Now that its over well "Hurrah for Parliament and Covenent".
ReplyDeleteGeneral Gettes and his hat look like they might've kept a few army psalm sings in order as well.
Looking very sharp there Foy. The units look excellent. Pity about the result, but right will out.
ReplyDeleteGreat BatRep with a well-told battle summary! Nice, clean looking game table. I like the addition of the arrow markers. Looked like an enjoyable afternoon.
ReplyDeleteA great looking game, beautiful units!
ReplyDeleteBrilliant! I'm not at all familiar with this rule set (the last lot I studied was in about 1982), but fantastic looking game and figures.
ReplyDeleteI take my hat of to Geddes! The table and figures look great as always but the result seems wrong...
ReplyDeleteThank you all gentlemen - a tidy little game. Matt - this game used a hybrid game I've developed which has a basic framework derived from various of Neil Thomas' rule systems, with combat mechanisms etc from Commands & Colors - thus the game allows some use of tactical formations, and a new, very simple activation system of my own. It works - this game played out without any hitches in less than two hours, solo. This hybrid game needs more work, but not using the Command Cards from C&C has a lot of advantages solo. I'll use it again, with a further tweak, and see how it goes.
ReplyDeleteGood so far, anyway.
Today was a Real Life day again, hence slow response to comments - thank you all again!
A tidy victory for the Parliamentarians, curse the crop-eared Scots puritans traitors!
ReplyDeleteOne of the things I liked about the game was that Darracot's force advanced into battle not knowing that it was outnumbered - an advantage of campaign games with Fog of War is that one doesn't have balanced and boringly symmetrical points games.
Figures looked excellent and Geddes - such a splendid hat waver! A sterling quality in any general. Pit harder to wave a steel bonnet if you're a Roundhead, though I suppose one could just hold it up in the air like the original movie poster for Cromwell.
Cheers,
Michael