 |
| Lord John, just checking that those chaps over by the river are the Other Lot - his groom is saying nothing... |
The game lasted about one and a half hours, and I have a sad bit of news for all my Royalist readers - Lord John Byron blew it once again. The real battle swung in the balance for a little while, before the King's men collapsed; my version of it went the same way, but it was never very close...
I started the action at the point where the Parliamentarians have realised that they are outnumbered, and therefore in a bit of trouble, so they decide they must sit tight, while Lord Byron launches his men into a glorious attack, keeping a little reserve back to watch over the siegeworks at Montgomery Castle (and taking personal command of this reserve, naturally).
The activation rules allow spare activation counters to be hoarded (to a maximum of 5), and Byron's best bet would have been to advance slowly and steadily, keep his forces organised and the supports close at hand, and save up a little cache of extra counters to help out in moments of stress, later. He didn't get very good activation dice, that is for sure, but a slower advance would have been a sound idea - the Parliamentarians were not in a position to do much beyond standing and waiting. 5 Victory Points was all that were needed, and the Royalists had scope for gaining an extra 2 if they captured the Salt Bridge, the only Roundhead retreat across the River Camlad (or Kemlett, as John Speed's map says).
 |
| The Royalist attack gets moving, concentrating (historically) on the better ground on their right. |
 |
| Meldrum does a bit of shuffling, to get his defence organised. |
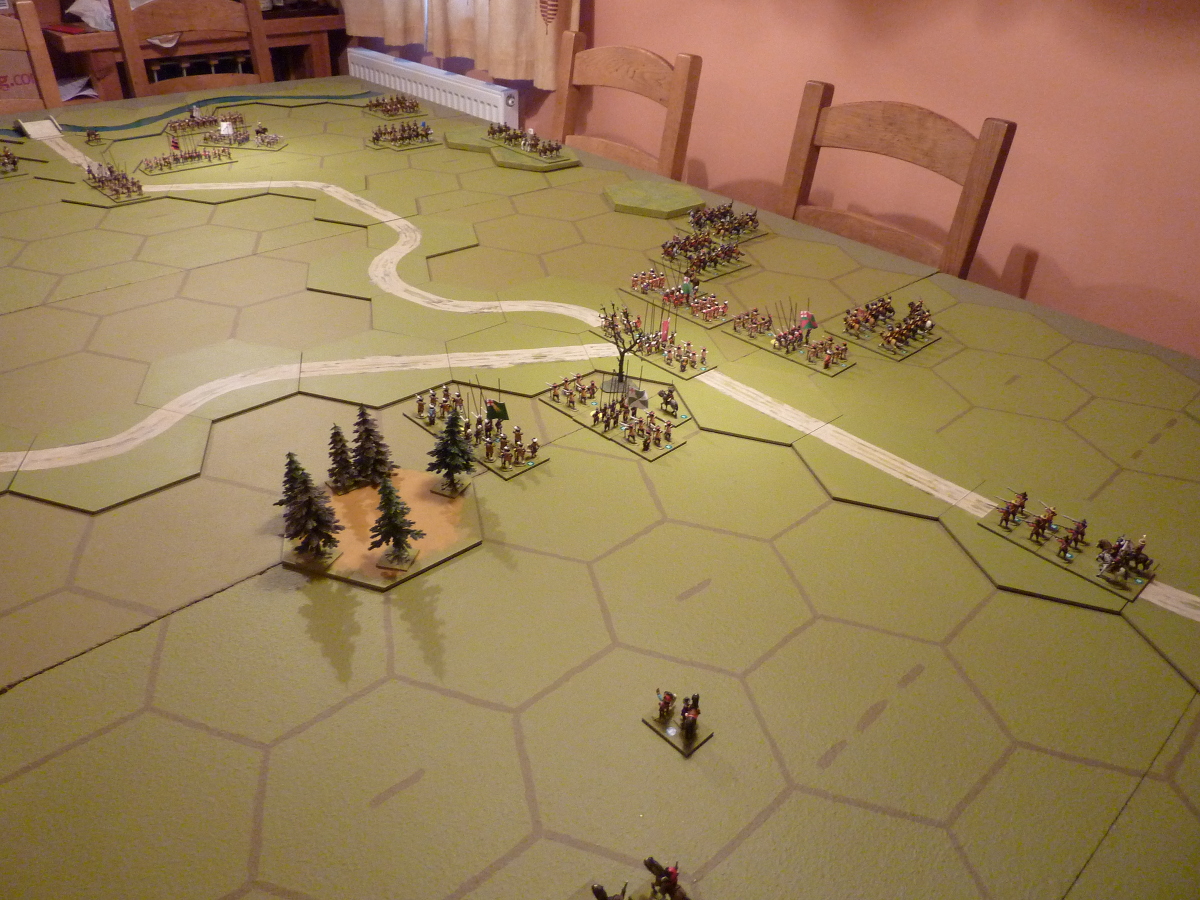 |
| General view of the start of the attack - the rough ground is in the Y of the roads, far left. |
 |
| Meldrum is ready, and salting away spare activation counters for later use. |
 |
| So they stand and wait... |
 |
| With the counter cache accumulating. |
 |
| And the Royalists get nearer... |
 |
| ...and nearer...[really milking this]... |
 |
| ...and by the time they make contact Byron's second line is starting to get out of touch. |
 |
| Of course, a cavalry fight broke out on the flank. |
 |
| At last, Meldrum's foot got off what had to be a decisive musket volley - dreadful! - they hit nothing at all in their big moment! - this was a high point for the Royalists - things really looked quite promising. |
 |
| But when the troops got into melee combat, the Parlies did very well indeed. |
 |
| The cavalry battle was nasty, but Wm Fairfax with the Parliamentarian horse gradually got the best of it, and also forced Michael Ernle's RoF into Stand of Pikes (hedgehog, whatever). |
 |
| Lord John suddenly has a vision. |
 |
| And now we have it, as the combined cavalry of Myddleton's Brigade and the Derbyshire Horse swept into Robert Broughton's Foot, coming up in support - the Reaction Test required Broughton's lot [Class 3] to roll a 3 to get themselves into Stand of Pikes, but they failed, leaving them unformed and pretty much helpless. They took heavy losses and were forced to retreat 4 hexes, which effectively put them out of action for the rest of the day. |
 |
| Now Myddleton's horse crashed on into Henry Warren's Foot, which was also wrecked, Warren himself being captured |
 |
| Suddenly very short of troops, Byron sent up the remainder of his Horse, but the day was lost. Michael Ernle's regiment, still in Stand of Pikes, was destroyed by musketry, and surrendered. The 5 VPs were accomplished. |
 |
| Situation at the end, seen from behind the Parliamentarian position. |
 |
| Sir John Meldrum - job done - no celebration and certainly no hat-waving. He has to get back to running the Siege of Liverpool in the morning. |
The real battle ended with the broken Royalist force being pursued right off the field, to the south, which is where they suffered most of their loss (500 killed and 1500 prisoners, I believe, overwhelmingly from the Foot). This evening's version did not continue to play out the pursuit, but I have a simple dice system to simulate the situation at the end of the day. This reflects the state of the respective armies - in particular the balance of effective cavalry remaining. In this action, the Parliament army held the field, with moderate initial losses and the troops still fairly fresh, while the Royalist cavalry was not in a desperate state, but was battered. The system is crude but works OK - the winning side roll 1D6 for each base lost (red "loss" counter - I don't remove actual bases) - any base which rolls 4, 5 or 6 can return to the ranks in the morning - they were just lost somewhere in the general excitement; the bases on the losing side are only rescued by a 6 - those that avoided death and capture are heading homewards, thank you very much.
In my game, poor old Byron should have advanced more carefully, keeping his force better co-ordinated, storing up extra activation counters wherever possible and using his greater numbers of foot to gain superiority in a focused area. He would also have done well to keep his shakier units (Class 3 - yellow markers) out of the front line - this was probably compromised, both in the game and in the real battle, by the fact that the senior officers in the Foot (notably Ernle) were from the Shrewsbury garrison, so the most jaundiced troops were to the fore. There were two particular occasions where lack of enthusiasm caused problems: part of Tom Tyldesley's horse were forced to take the necessary double retreat as the result of a reverse in the cavalry skirmish, which removed them from the action, and - especially - Broughton's foot failed the reaction test needed to redeploy when attacked by Myddleton's horse, were badly beaten and ran a long way from the action, leaving Myddleton's men to continue to roll up the Royalist left.
In an action of this size there are few second chances - when the day starts to swing one way, lack of fresh reserves and lack of opportunity to withdraw damaged units are decisive - and quickly. The real Battle of Montgomery lasted about an hour - my version must have been fairly similar. Without the Homeric narrative of the rally of the Cheshire Foot and the Yorkshire Horse, the story is simple enough - the King's troops attacked, it did not go well for them and they retreated from the field, losing a great many in killed and captured on the retreat.
Looks like a fun game Tony even if you hadn't intended to play solo. However, I do think it's time we saw a Royalist victory!
ReplyDeleteAt least there were no arguments about the rules! I really don't favour either side - honest - I love all my children.
DeleteIt's nice that you should have a soft spot for a king who was prepared to sacrifice everyone else's life and property for the sanctity of his crown, who attempted to force a change of faith on the Scots and was prepared to bring in soldiers from Ireland, Netherlands, France (and anywhere, really) to fight against English citizens on his behalf. Otherwise a very nice man, by all accounts!
He didn't have a warty nose, though. :-)
Well told BatRep, my friend! Poor old Byron took a real shellacking in this refight. Maybe next time, the Royalists can muster for a better showing?
ReplyDeleteWhile a two player, FtF game had been planned, I find BatReps resulting from solo play much easier to document. Do you agree?
They'll be back - have no fear. Byron is a sort of alternative hero of mine - he got no breaks at all, from his contemporaries or historians, he was a deplorable diplomat, he made enemies easily and his men hated him, but he really gave it his best shot! Reminds me of myself, really...
DeleteAgree about solo game BatReps - I think it's because I have to think through what both sides are doing, rather than blinking in amazement at what my opponent is up to!
A very smart looking game. I must admit to have been tempted more than once to dabble in this period but have never taken the plunge. I don't think that's a bad thing as the lead pile I already possess does not need any further additions.
ReplyDeleteLead piles are an interesting (if uncomfortable?) topic. Your enforced break from painting through injury will have given you a very focused view on this, but I know I'm not good when I have a backlog of figures to paint - I don't find that very relaxing as a "recreational" situation - it nags at me, though I really like it when the painting is done. I consciously started my ECW project a few years ago simply because I needed some diversity (I was getting very weird about the Napoleonic Wars), and because it was a period I thought I should know more about.
DeleteI really like the look of some of the lesser 19th Century wars (including the colonial stuff, I suppose), and I'd love to give the ACW a serious shot, but I realise I'm never going to do it now - I don't see myself doing anything completely new, though it may be possible to do some skirmish-style things - I quite like the look of Song of Drums & Shakos, for example, though I haven't done anything about it yet.